
Laser Engraving on Different Materials A technical deep dive for custom makers
A clean result versus a ruined workpiece almost always traces back to one thing: whether you actually understood the material sitting under that beam. This covers what’s happening at the material level — with the settings, techniques, and finishing knowledge to get repeatable, professional results.
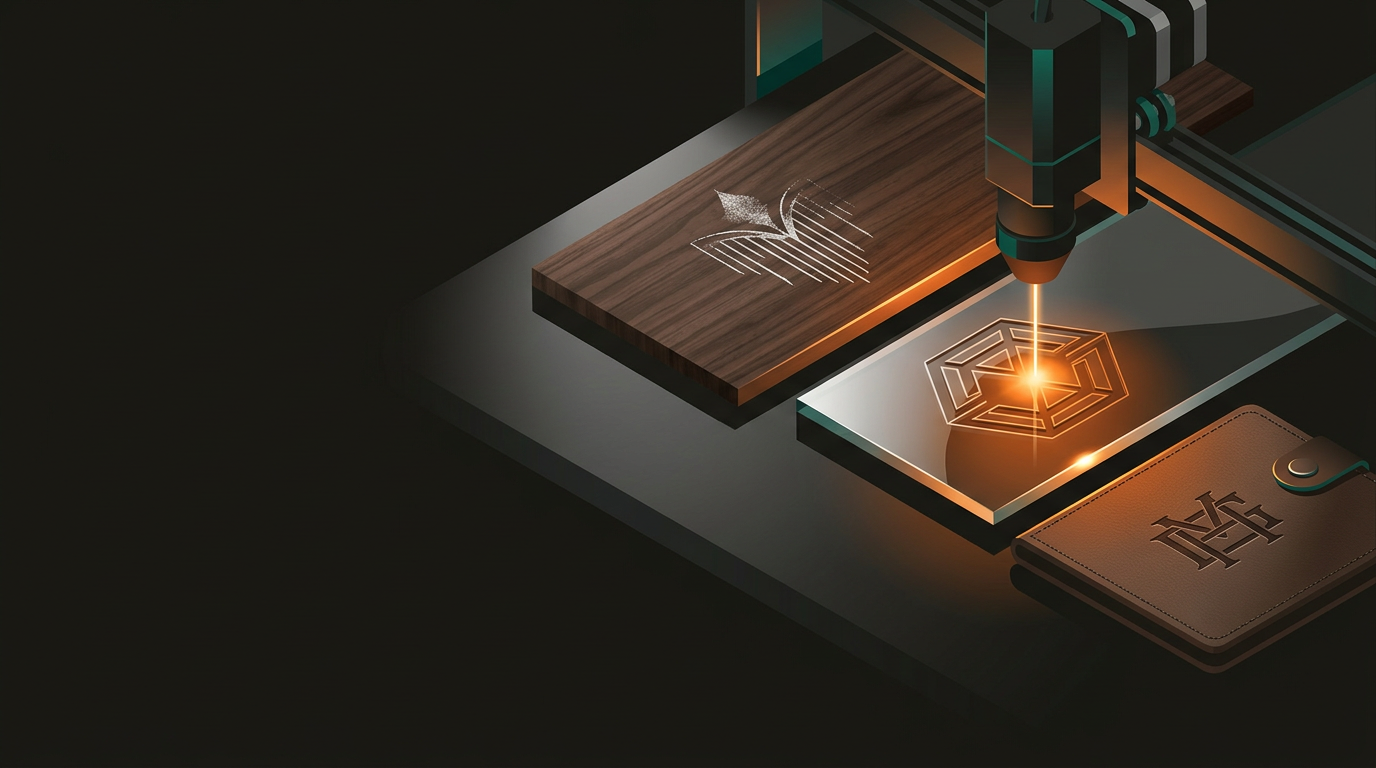
A laser engraver focuses a high-intensity beam onto a surface. Depending on the material and laser type, one of three things happens: ablation (material vaporises away), colour change (chemical or structural shift without significant removal), or marking (surface oxidation or reaction). Matching laser type to material is step one.
CO₂ Lasers
- Well-suited to organics: wood, acrylic, leather, fabric
- Coated and painted materials
- Can engrave anodised aluminium (removes coating, not bare metal)
- Glass with tape/soap prep
- The standard for most maker and production work
Fibre Lasers
- Built for bare metals: steel, aluminium, brass, titanium
- Direct marking without coatings or sprays
- Jewellery, QR codes, industrial serial number marking
- Harder materials that CO₂ beams simply reflect off
- Precise and permanent — the correct tool for metals
Wood is the most popular laser engraving material and one of the most unpredictable. Two boards from the same species can behave differently depending on moisture content, grain direction, and where natural resins have pooled. There’s no single setting that works universally.
Low power (20–30%), fast speed. Burns extremely easily — minimal passes, test first.
Medium (40–60%), medium speed. Watch for adhesive flare-ups at the glue lines.
Medium-high (50–70%), medium speed. Fine detail, but produces toxic fumes — proper extraction is non-negotiable.
High (60–80%), slow speed. Deep contrast, excellent results. NZ rimu engraves beautifully for awards and commemorative work.
Engrave with the grain for cleaner lines in detailed work. Masking tape applied before engraving cuts down on smoke staining on pale-coloured timber.
Acrylic is where laser engraving earns its reputation. But there’s a distinction beginners frequently miss: cast and extruded acrylic respond to a laser in completely different ways.
Cast Acrylic
- Turns a crisp frosted white when engraved
- Clean contrast, professional appearance
- Correct choice for awards, architectural signage, display
- 3 mm: 15–20% power, 300 mm/s, 300 DPI
- 6 mm: 20–30% power, 250 mm/s, 300 DPI
Extruded Acrylic
- Engraves with a clear, glassy finish — not frosted
- Cheaper material, results are visibly different
- 3 mm: 10–15% power, 350 mm/s, 300 DPI
- Acceptable for functional or non-display work
- Avoid for awards, premium signage, or optical applications
Always run test passes on offcuts before committing to a final piece. Flame polish edges after engraving, then buff with Novus Plastic Polish — the difference between raw and finished acrylic is immediately obvious.
Bare metal is where many makers hit a wall. A standard CO₂ laser won’t engrave bare steel, aluminium, or brass — the beam reflects off the surface without any meaningful effect. Two practical paths forward.
Apply to surface, engrave at high power and low speed, wipe off residue. Laser fuses compound to metal — permanent, sharp black mark. Works on CO₂ machines.
Direct metal marking without coatings. Steel, aluminium, brass, titanium. The standard for jewellery, QR codes, and industrial serial numbers.
CO₂ can engrave this — it removes the coating, not bare metal. Sharp contrast between anodised colour and exposed aluminium beneath. Popular for custom electronics panels.
Laser strips the coating to expose base metal — a straightforward technique for custom signage and component labelling on CO₂ machines.
A few other materials worth understanding before running them on the machine.
Takes laser engraving well. CO₂ chars the surface for a clean, permanent mark with a slightly raised texture. Veg-tan: 25–40% power, 200–300 mm/s. Apply leather conditioner after engraving to restore suppleness.
Do not laser. PU and PVC-based materials can release chlorine gas — dangerous for the operator and corrosive to the machine. If you’re unsure what the material is, don’t run it.
CO₂ lasers work well, producing a slight burn mark with good definition. Synthetics need careful testing — nylon and polyester tend to melt rather than engrave cleanly.
Engravable with CO₂, but the surface micro-fractures rather than ablating cleanly. Apply a thin layer of dish soap or transfer tape before engraving to meaningfully improve the finish.
CO₂ lasers produce strong contrast on natural stone with no masking required. Clean the surface afterwards. Consistent, straightforward results.
No settings table — this one included — replaces testing on your actual material. Laser output varies between machines, lenses age, and material batches differ. These are the two habits that separate consistent results from repeated waste.
Power/Speed Matrix
- Run a test grid on an offcut before every new material or job type
- Vary power in columns, speed in rows — find the sweet spot visually
- Five minutes of testing prevents a lot of ruined material
- Save successful settings per material in a reference log
Focus Height
- Being 0.5 mm off optimal focal length blurs fine detail
- Particularly impactful on line widths under 0.5 mm
- Check focus every time a new material thickness goes on the bed
- An easy variable to overlook, a surprisingly impactful one
GeoSaffer Ltd in Auckland works across the full range of laser-engravable materials — from NZ native timbers and cast acrylic through to anodised metal panels and leather accessories. If you’ve got a project in mind and want input on material selection, design optimisation, or production runs, send through your details and get a straight answer.
Get in touch or request a quote →