
Designing Custom Signage How laser cutting & CNC routing create professional results
Laser cutting and CNC routing close the gap between brand vision and physical signage better than almost any other fabrication method available to NZ businesses. But getting professional results requires more than just sending a file — material choice, tolerances, finishing, and outdoor durability all need to be considered before a single cut is made.
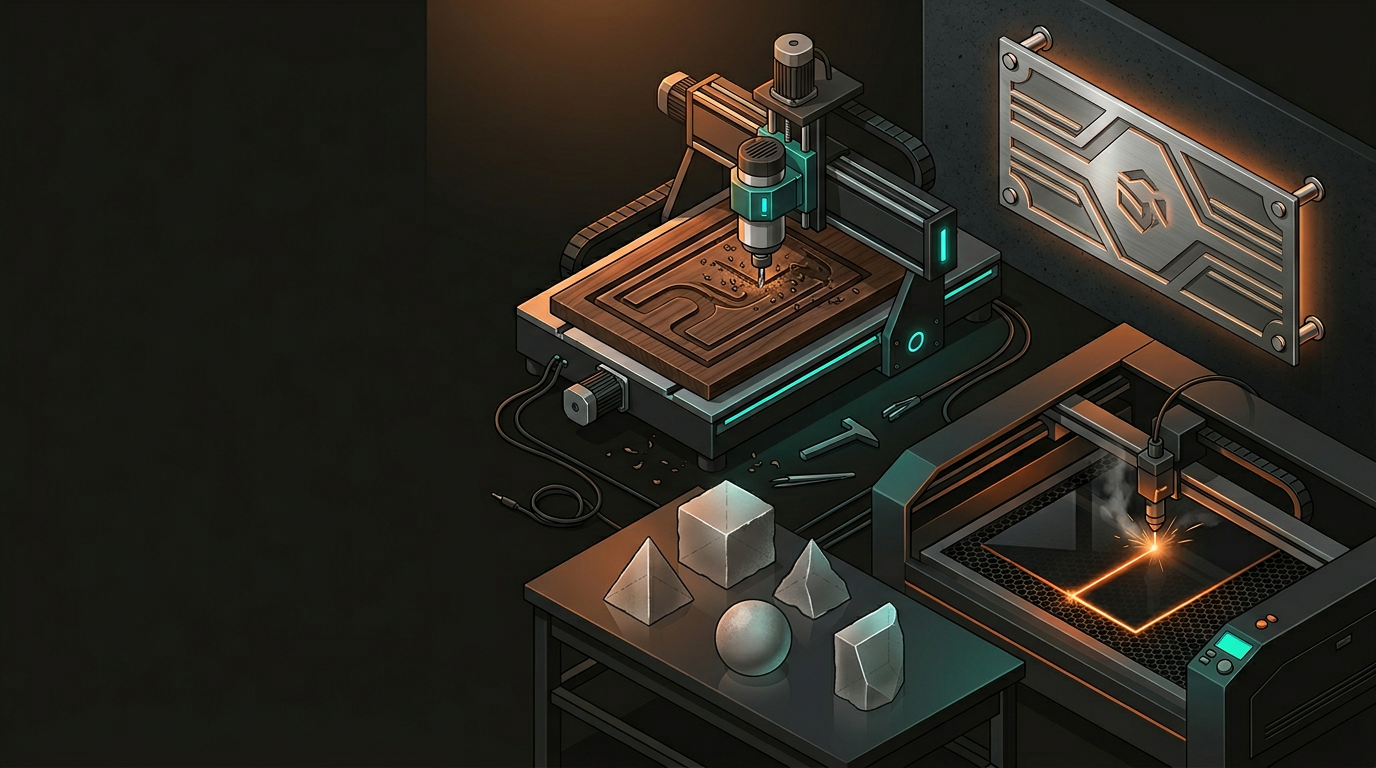
Both laser cutting and CNC routing are subtractive fabrication methods — they remove material to create a shape. They work differently and excel in different situations. For many signage projects, the smartest approach uses both in combination.
Laser Cutting
- Intricate detail — fine fonts, complex logos
- Thin materials: acrylic to 20mm, timber to 18mm
- Clean engraved depth effects and frosted finishes
- Consistent production runs at scale
CNC Routing
- Thicker materials — solid timber, MDF, aluminium plate
- Larger format work beyond typical laser bed sizes
- 3D profiling: raised lettering, bevelled edges
- Relief carving and tactile surface texture
A dimensional retail sign might be CNC-routed from 18mm MDF for the backing panel, with laser-cut acrylic letters bonded on top and an engraved logo recessed into the base layer. Each process doing what it does best.
Both processes require clean vector files — typically .dxf, .ai, or .svg. Rasterised images (JPGs, PNGs, low-res PDFs) need to be redrawn before they can be used. This is not a preference; it is just how toolpaths work.
Laser-cut text in thin materials becomes fragile below about 3mm stroke width. For acrylic lettering bonded to a backing, anything thinner than 4–5mm on the letter strokes risks breakage during handling. Engraved text — where you are not cutting all the way through — can handle finer detail.
The laser beam has a physical width — typically 0.1–0.3mm — and it removes material as it cuts. For multi-part assemblies, interlocking signs, or press-fit components, kerf offset needs to be built into the design file. A slot drawn at exactly 6mm will come out slightly wider in the material.
For press-fit joints in acrylic or wood, design to 0.1–0.2mm of interference. For standoff-mounted letters, pre-drill or laser-cut the mounting holes in the backing panel in the same file and same machine run as the letters. This guarantees alignment. Manual measuring does not — not reliably.
The material shapes everything: the look, the weight, the durability, the cost. Specify the wrong one and finishing techniques cannot save you.
Machines cleanly, takes paint well, polishes to optical clarity. The right choice for illuminated signs and premium retail lettering.
Lightweight, weather-resistant, machines crisply. Standard for outdoor flat signage and high-volume retail fitouts.
Aluminium skins over polyethylene core. Extremely flat and durable — the premium choice for exterior signage that needs to last.
Natural grain is part of the appeal. Boutique retail and café signage. Needs a quality clear coat or paint system for outdoor exposure.
Indoor backing panels and 3D routed elements. Must be sealed and painted before use — swells with moisture if left exposed.
Lower cost than cast. Acceptable for non-visible indoor applications, but prone to chipping and stress cracking under the cutter.
Raw cut material is rarely the finished product. What happens after cutting often determines whether a sign looks handmade or precision-made.
Acrylic Finishing
- Flame or mechanical polishing restores optical clarity
- Laser-cut edges appear frosted by default
- Two-tone layered acrylic — top layer cut, backing shows through
- Leave masking on during cutting to protect faces
Metal & Timber Finishing
- Powder coat aluminium for UV-stable exterior finish
- Paint-fill engraved areas — route recessed, fill, wipe clean
- External-grade two-part polyurethane for timber outdoors
- Marine-grade stainless standoffs near salt air — always
Paint-filled engraved lettering is considerably more durable than surface-applied vinyl. CNC-route or laser-engrave the text slightly recessed, roll paint into the cavity, then wipe the surface clean before full cure. The result sits flush with the surface and lasts.
New Zealand’s UV levels rank among the highest in the world. Coastal areas add salt exposure on top of that. Material and finish choices for outdoor signage projects need to account for both — not one of them.
Material Rules
- Cast acrylic over extruded outdoors — UV-stabilised
- MDF outdoors is a short-term solution at best
- ACM and Dibond are the NZ outdoor workhorses
- Stainless steel laser-cut signs hold up in coastal environments
Hardware Rules
- Marine-grade stainless standoffs near salt air — mandatory
- Standard steel hardware leaves rust streaks within a season
- Two-part polyurethane clear coats on any outdoor timber sign
- UV-resistant paint systems on powder-coated aluminium
The hardware is easy to overlook. Marine-grade stainless standoffs and fixings cost marginally more than standard hardware and are entirely worth it. Standard steel hardware leaves rust streaks down the face of an otherwise excellent sign within a single Auckland winter.
GeoSaffer in Auckland operates laser cutting and CNC routing across commercial signage, retail fitouts, and custom manufacturing. Whether it is a single bespoke piece or a consistent production run — bring your vector files and your brief. That is a perfectly good place to start.
Talk to us about your signage project →