
Laser Cutting vs Engraving A complete guide for NZ small businesses
Laser cutting and laser engraving use the same machine — but they do fundamentally different things to your material. Confuse them and you’ll send the wrong file format, waste stock, or end up with a result that wasn’t what you pictured. Here’s what separates them, what each one costs, and how to choose the right process before you commit.
Both cutting and engraving use a focused laser beam. What changes is what the laser does to the material — and how power and speed are set to achieve it.
The beam penetrates the material entirely, following a programmed path to produce shapes, parts, or outlines. Contactless and precise — like a blade that never touches anything. Kerf width is typically 0.1–0.3mm.
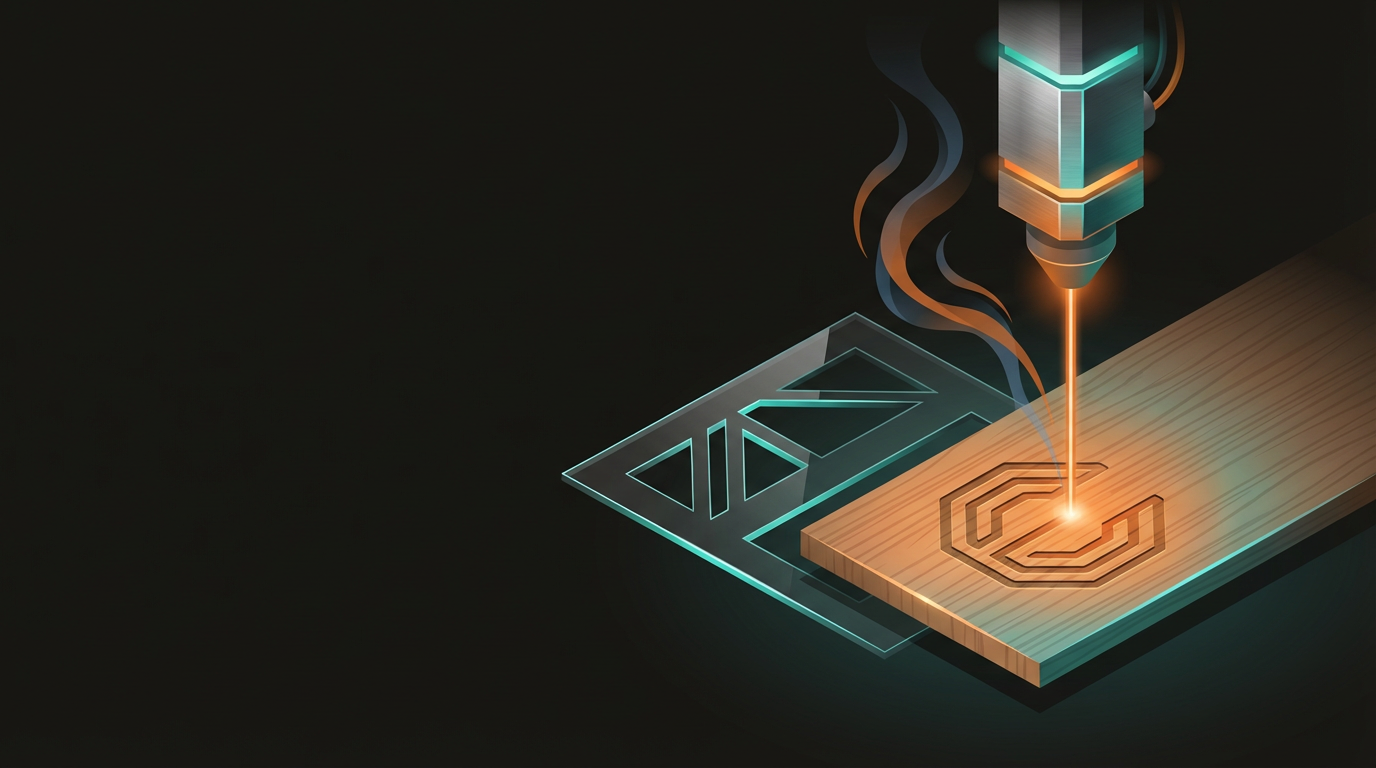
Reduced power removes a controlled layer from the surface. Text, imagery, and logos burned in rather than cut through — depth is adjustable, from a shallow surface texture to several millimetres on softer materials.
The lowest intensity option. Alters surface colour or texture without significant material removal. Most common on anodised metals and coated surfaces. Technically a subset of engraving, but the visual result is quite different.
Many projects combine two or all three. A piece of acrylic might be cut into a specific shape and then engraved with a logo — two processes, one machine setup, delivered in the same run.
Laser performance varies significantly by material. Some combinations are straightforward; others require careful attention to settings, fume extraction, or both. PVC and standard vinyl are a hard exclusion — they release chlorine gas when lasered, which no ventilation system adequately resolves. Polycarbonate melts rather than cuts cleanly. Carbon fibre produces toxic particulates regardless of laser type. Confirm your material is laser-safe before ordering stock.
Best Materials for Cutting
- Acrylic — polished edges straight off the machine, no post-processing
- Plywood and MDF — affordable and versatile for parts, packaging, and décor
- Leather — clean cuts, sealed edges, zero fraying
- Fabric and felt — sealed finish straight from the machine
- Thin aluminium and mild steel — fibre or high-power CO₂ laser required
- Cardboard and kraft board — fast, inexpensive, ideal for packaging prototypes
Best Materials for Engraving
- Timber — rich, high-contrast burns with real depth and grain interaction
- Anodised aluminium — removes the anodised layer to expose bright metal
- Glass — frosted effects on awards, glassware, and architectural panels
- Coated metals — engraving through the coating reveals bare metal beneath
- Stone and tile — marble, granite, and ceramic take detailed imagery well
- Acrylic — engraved details catch edge-lit light for illuminated signage
The decision usually comes down to one question: does your material need to be separated into a shape, or decorated with text and imagery? Most projects fall cleanly into one camp — though plenty require both.
Choose Laser Cutting When You Need
- Custom-shaped parts — brackets, enclosure panels, gaskets, jigs
- Signage blanks — logo shapes cut from acrylic or timber, ready to finish
- Precision packaging — inserts, gift boxes, display trays from card or MDF
- Wearables and accessories — leather bag tags, acrylic jewellery components
- Architectural and décor elements — decorative screens, panels, wall art
Choose Laser Engraving When You Need
- Product personalisation — names, dates, or messages on gifts and keepsakes
- Permanent branding — logos on timber, leather goods, or promotional items
- Detailed imagery — photographs or illustrations reproduced on wood, glass, or stone
- Industrial labelling — serial numbers, compliance marks, and asset tags on metal
- Awards and recognition pieces — plaques, trophies, commemorative items
Understanding how laser work is priced helps you budget accurately and flag cost drivers before you’ve finalised a design. The two processes are measured differently, so comparing quotes across suppliers is easier once you know what each line item means.
What Drives Cutting Costs
- Material — acrylic and metals run higher than wood or card
- Total cut path length matters more than sheet size
- Thickness — thicker stock requires slower speeds and sometimes multiple passes
- Quantity — setup time spreads across a run, reducing cost per unit
What Drives Engraving Costs
- Engraved area — the laser scans row by row, so larger areas take longer
- Detail level — photographic imagery requires slower speeds and finer resolution
- Depth required — some materials need multiple passes for the right contrast
- Material surface finish — affects how many passes are needed to achieve the result
For small businesses, the most efficient approach is a local fabricator who handles both processes in one setup. It reduces handling, speeds turnaround, and removes the awkwardness of splitting a job between two suppliers. Arriving with print-ready files in the correct format — and knowing which elements are cut and which are engraved — saves time on both sides of the quote.
Most file problems that delay jobs are avoidable before you send anything. A small amount of preparation at the design stage prevents the most common round of rework.
Vector files for cutting paths
Outlines must be clean, closed paths — SVG, DXF, or AI format. Raster images (JPG, PNG) cannot drive cut paths and will be returned for rework before any job is started.
High-resolution raster for engraving
Grayscale images at 300 DPI minimum produce sharp engraved results. For photographic work on timber, 600 DPI gives noticeably better depth and tonal range.
Separate cut lines and engraved areas
Differentiate cutting and engraving elements by layer or colour in your file. It removes ambiguity for the operator and reduces the chance of something being processed at the wrong setting.
Account for kerf on tight-fitting parts
The laser removes 0.1–0.3mm of material as it cuts. For parts that need to slot together with a snug fit, this offset must be built into the design. Your fabricator will give you the exact figure for their machine and material combination.
Talk before you finalise
A five-minute conversation with your operator before you lock the file can save a full round of revisions. Dimensions, material thickness, finish expectations — all worth confirming early rather than after the first sample run.
The difference between an average laser job and a genuinely good one usually comes down to three things: the machine, the operator’s experience, and the quality of your source files. All three matter in equal measure.
Offshore ordering might look cheaper on a spreadsheet — until you account for shipping time, the inability to iterate on samples, and the difficulty of getting questions answered when something doesn’t look right. For anything that represents your brand, or that a customer will hold in their hands, that flexibility has real value.
A local fabricator who handles both cutting and engraving in one setup can also bring in CNC routing or 3D printing when your project demands more than laser work alone. That adjacency is useful when you’re developing a new product, working against a tight deadline, or need a small run produced accurately without a large minimum order.
GeoSaffer works with clients across wood, acrylic, metal, leather, fabric, and more — handling laser cutting, laser engraving, CNC routing, and 3D printing under one roof in Auckland. Bring your idea, your files, or even just a rough sketch.
Get a quote from GeoSaffer →