
From Concept to Product A complete guide to rapid prototyping in New Zealand
Traditional manufacturing tooling costs $10,000–$100,000 and takes weeks. Finding a design mistake after the tool is cut is expensive. Rapid prototyping lets you find those mistakes at the cost of a few hours of machine time — and in NZ, access to capable local fabrication that turns an updated CAD file into a revised prototype in days rather than weeks is genuinely worth something.
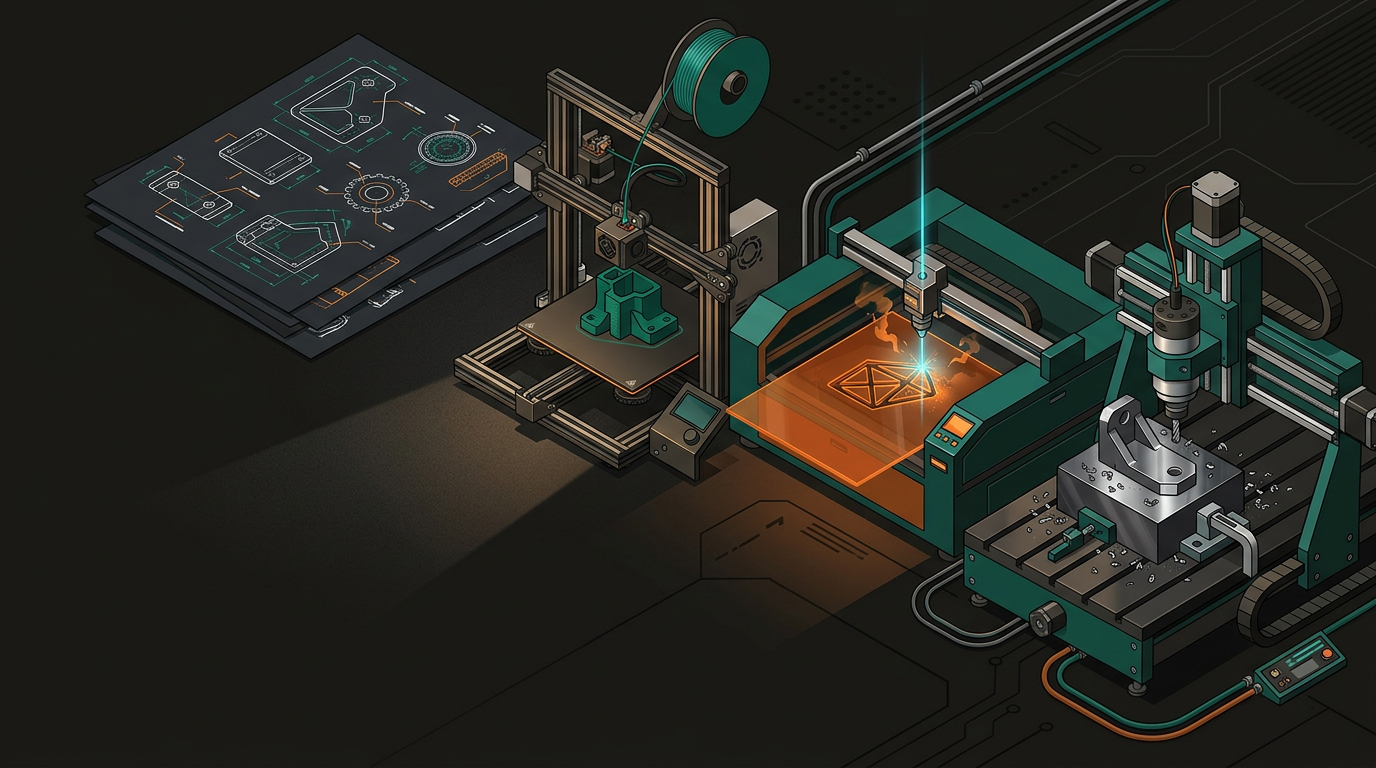
No single technology covers everything. The best outcomes come from matching the tool to the phase — not defaulting to whatever’s familiar.
FDM for structural checks and fast conceptual models. Resin (SLA/MSLA) for fine detail and surface finish approaching injection-moulded quality. Overnight turnaround on small parts.
Parts made from actual production materials — aluminium, hardwood, engineering plastics. When mechanical properties matter, a printed stand-in doesn’t give you meaningful test data.
DXF file to physical part in hours. Handles acrylic, aluminium, steel, wood, rubber sheet. Consistently underestimated — one of the fastest ways to iterate on sheet-based designs.
Laser-cut parts combine naturally with 3D-printed components. A common approach: laser-cut panels handle flat structural elements of an enclosure; 3D-printed parts cover clips, standoffs, and anything with complex 3D geometry. This hybrid often produces a more functional prototype faster than either method alone.
Product development has distinct phases, and the right prototyping approach shifts at each one. Using CNC machining for early concept checks, or 3D printing for load-bearing structural tests, wastes time and money.
Early-Stage: Form & Fit
- 3D printing — fast, cheap, iterate without guilt
- Geometry checks, PCB fitment, button placement
- Run version A and B simultaneously to compare
- Resin for surface finish accuracy
- FDM for structural assembly checks
Later-Stage: Function & Load
- CNC in real materials for structural testing
- Laser cutting for sheet enclosures and brackets
- Like-for-like prototype when final product is machined
- Combine all three for complex assemblies
- Pre-production pilot in production materials
With a capable local fabrication partner, a typical hardware product development journey runs 10–12 weeks from concept to validated design. Compare that to the alternative: waiting 3–6 weeks for overseas samples, discovering a fit issue, and starting the freight cycle again.
A Wellington-based startup developing an agricultural IoT device needs a weatherproof enclosure that fits a custom PCB, mounts in the field, and can eventually scale to moderate production volume. Here’s how a local prototyping approach plays out.
A 3D-printed resin model lets the team physically check PCB fitment, button placement, and cable routing. Cost: under $100. Time: two days.
A laser-cut acrylic version, finger-jointed, with actual hardware installed. Tests real-world assembly and the waterproofing approach. Cost: a few hundred dollars. Time: one week.
A CNC-routed aluminium version with proper sealing channels, tested in field conditions. Cost: $500–$1,500 depending on complexity. Time: one to two weeks. By the time they brief a contract manufacturer, the design is fully validated — no surprises in tooling.
It matters who you’re working with. A fabricator who understands the full picture — one who looks at your design and recommends which approach fits which stage — is worth finding and keeping.
3D printing, CNC routing, and laser cutting under one roof means you’re not managing three separate suppliers through each iteration cycle.
Design-for-manufacturing input before a single part is cut. A fabricator who spots a tolerance issue in your file saves you a whole round of iteration.
Days not weeks. No international freight, no customs delays, no version of your prototype sitting in a shipping container somewhere.
GeoSaffer in Auckland handles 3D printing (via Plastixel), CNC routing, and laser cutting — multiple stages of the prototyping process under one roof. Whether you’re at the napkin-sketch stage or ready for a functional prototype in production materials, get in touch to discuss what approach makes sense for your design.
Start your prototype with GeoSaffer →