
Scaling Your 3D Print Farm Infrastructure, equipment, and workflow optimisation
Bolting on more machines without the right infrastructure doesn’t scale your operation — it just scales your problems. The jump from hobbyist setup to a proper print farm is less about buying more equipment and more about rethinking how your entire operation works.
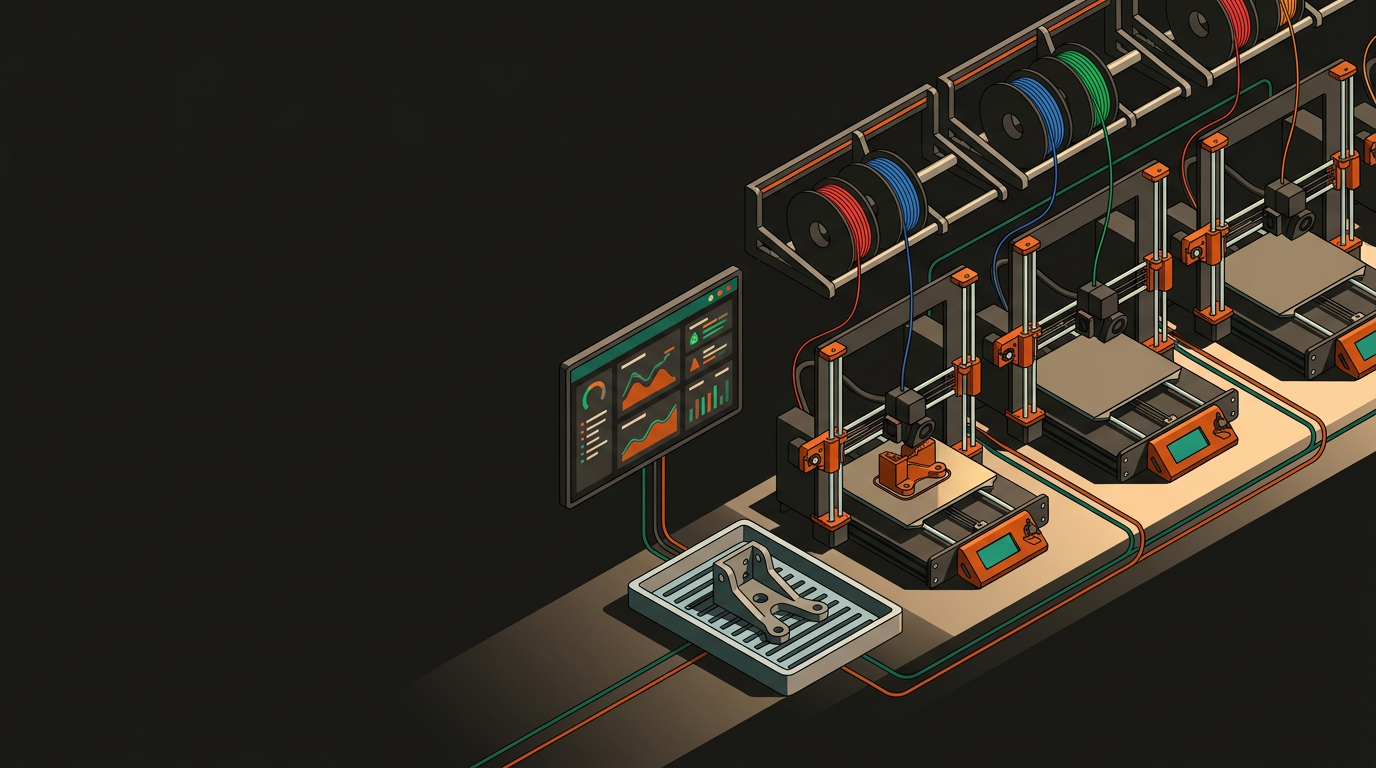
Before you spend a dollar on new equipment, map out your physical and operational architecture. A print farm isn’t just a room full of printers — it’s a system.
Physical Layout
- Cluster machines by material type, not brand
- Dedicated zones for print, post-processing, QC, and dispatch
- Overhead cable and filament runs — not floor level
- Clear zones reduce errors even in cramped spaces
Networking & Monitoring
- Every printer should be networked in production
- OctoPrint, Obico, Bambu Cloud, or Prusa Connect
- Centralised monitoring, remote start/stop, camera feeds
- One operator can monitor 20+ printers with the right setup
Your machine mix should reflect your actual order profile rather than whatever’s getting buzz on the forums.
FDM at Scale
- Workhorse for functional parts and prototypes
- Bambu X1C or Prusa XL — significantly faster than older machines
- CoreXY with hardened nozzles and auto bed levelling for consistency
- MMU adds capability but introduces real complexity
Resin for Detail Work
- MSLA/DLP for dental, jewellery, miniatures, precision housings
- IPA washing, UV curing, PPE — genuine operational overhead
- Isolate resin operations physically from your FDM fleet
- Serves wider customer needs when properly separated
Poor material management shows up as failed prints, wasted stock, and output that varies in ways that are hard to explain to a customer. At one or two printers you can ignore this. At twenty running around the clock, you can’t.
Moisture is the enemy of consistent FDM printing. Invest in a proper dry cabinet or active drying system — individual desiccant bags don’t hold up at serious volume.
Know what’s loaded on each machine, how much is left, and when to reorder. A spreadsheet works early on; purpose-built tools like Spoolman (open-source) earn their place as inventory grows.
Every material you add is another variable to control. Start with a core set — PLA, PETG, ASA, a flex option — and only expand when there’s clear, sustained demand.
Older spools print first. It applies to filament just as much as it does to perishables, and it prevents moisture-absorbed stock sitting at the back of a shelf indefinitely.
Manufacturing efficiency in a print farm comes down to reducing the time between “job received” and “printer running” — and cutting out human intervention wherever routine decisions don’t actually need it.
Slicing & Profiles
- Version-controlled profiles for every machine model
- PrusaSlicer project files or Bambu Studio process profiles
- Scripted CLI slicing pipelines for high volume
- Deviating from standard profiles creates hard-to-diagnose variability
Queue & Failure Handling
- Trello or Notion boards for smaller scale queue visibility
- Operator shift handoff docs — simple, often skipped, critical
- Obico AI failure detection pauses jobs on spaghetti or layer shifts
- Build the recovery workflow before you need it
Manual inspection doesn’t hold up at volume. The better approach is building quality into the process rather than catching problems at the end.
Are your printers running above 70%? Below 50% usually means a workflow or demand problem — not a capacity problem.
Include filament, NZ electricity pricing, machine depreciation, and labour. Model conservatively, then pressure-test the number.
A $1,500–$3,000 FDM machine paying back in 6–12 months through production orders is realistic for a well-run farm when utilisation supports it.
In the NZ context, lead time and local availability are genuine selling points. Offshore supply chain delays have made local production capacity something customers will pay for when they need parts quickly and predictably.
At GeoSaffer, that’s the direction we’re actively building toward with Plastixel — a print farm structured to serve NZ businesses with genuine production-scale 3D printing, not just one-off prototypes. If you’re at a similar inflection point, or looking for a local production partner who’s already building the infrastructure, we’re happy to talk through what makes sense for your situation.
Talk to the team about print farm capacity →